Welcome to the Egg Incubator User Manual! This guide provides comprehensive instructions for setting up‚ operating‚ and maintaining your incubator to ensure successful egg hatching.
It covers essential features‚ safety tips‚ and troubleshooting to help you achieve optimal results. Follow the steps carefully for a smooth incubation process.
1.1 Purpose and Scope of the Manual
This manual is designed to help you understand and effectively operate your egg incubator. It covers installation‚ operation‚ and maintenance‚ ensuring successful egg hatching. The guide provides safety precautions‚ optimal settings‚ and troubleshooting tips‚ making it an essential resource for all users.
1.2 Important Safety Precautions
Always read and follow the instructions carefully before using the incubator. Ensure the device is placed on a stable‚ flat surface away from direct sunlight and water sources. Avoid exposing electrical components to moisture. Keep children away during operation. Regularly inspect cords and connections for damage. Never operate the incubator near flammable materials.

Components and Accessories
The incubator includes essential components such as the main unit‚ egg tray‚ water bottle‚ power cable‚ and user manual. Additional accessories may include an egg candler.
2.1 Package Contents
The package includes the incubator unit‚ egg tray‚ user manual‚ water bottle‚ power cable‚ and protective foam for safe transportation. Some models may also include an egg candler for monitoring embryo development. Ensure all items are accounted for before setup to guarantee proper operation and optimal hatching results.
2.2 Description of Key Parts
The incubator includes the main unit‚ egg tray‚ temperature control panel‚ water channels‚ and ventilation vents. The egg tray holds eggs securely‚ while the temperature control panel regulates heat. Water channels maintain humidity‚ and ventilation vents ensure airflow. Some models include an egg candler for monitoring embryo development. These components work together to create an optimal environment for hatching eggs successfully.
Setup and Assembly
Unbox and prepare the incubator‚ ensuring all components are included. Assemble the egg tray and connect power and water systems carefully. Follow step-by-step instructions for proper setup.
3.1 Unboxing and Preparing the Incubator
Carefully unbox the incubator and verify all components‚ including the incubator‚ user manual‚ water bottle‚ and power cable. Ensure the incubator is clean and dry. Place it on a stable‚ flat surface away from direct sunlight. Disinfect all parts with a mild solution before first use. Consult the manual for detailed preparation steps.
3.2 Assembling the Egg Tray and Other Components
Gently align the egg tray with the base of the incubator‚ ensuring it clicks securely into place. Attach the egg dividers to separate the eggs evenly. Place the water reservoir and connect the water tube to the incubator. Double-check all connections and ensure the egg tray is level for proper egg placement and balance.
3.3 Connecting Power and Water Systems
Connect the power cable to the incubator and plug it into a nearby outlet. Ensure the connection is secure and the cable is not damaged. Fill the water reservoir with distilled water‚ then attach the water tube to the incubator’s water inlet. Turn on the power and allow the system to stabilize for 30 minutes before adding eggs.
Check for any leaks in the water system and ensure the automatic water circulation function is active. The incubator will begin regulating temperature and humidity once powered on. Monitor the control panel to confirm proper operation of all systems before proceeding with egg placement.
Operating the Incubator
Welcome to the operating section of your Egg Incubator User Manual! This chapter guides you through setting up temperature‚ humidity‚ and placement of eggs for successful incubation.
Ensure the incubator is powered on and all systems are functioning properly before adding eggs. Follow the instructions carefully for optimal results.
4.1 Setting the Temperature and Humidity
Set the incubator temperature between 99°F and 100°F (37°C to 38°C) and humidity levels at 50-60% for optimal incubation. Use the control panel to adjust these settings precisely. Ensure proper ventilation and monitor levels regularly to maintain stability. These conditions are critical for healthy embryo development and successful hatching.
Refer to the manual for calibration instructions and testing procedures before placing eggs. Consistent temperature and humidity are essential for proper incubation. Avoid sudden changes to prevent embryo stress. Always follow the manufacturer’s guidelines for best results.
4.2 Placing Eggs in the Incubator
Ensure the incubator is preheated to the correct temperature and humidity before placing eggs. Gently position eggs with the narrow end down in the egg tray. Avoid overloading the incubator beyond its capacity. Do not place cracked or damaged eggs. Close the incubator lid carefully to maintain consistent conditions. Allow the system to stabilize before monitoring;
4.3 Monitoring the Incubation Process
Regularly monitor temperature‚ humidity‚ and egg turning functions. Check temperature levels between 99-100°F and humidity around 50-60%. Use the egg candler to observe embryo development weekly. Ensure the egg turner operates smoothly and adjust settings as needed. Maintain consistent conditions to promote healthy growth and prepare for a successful hatch.
4.4 Testing the Egg Turning Function
Press and hold the reset button to test the egg turning function. Ensure the motor operates smoothly and eggs turn evenly. If the function fails‚ check for obstructions and verify proper assembly. Regular testing ensures consistent incubation conditions and prevents issues during the hatching process. Proper function is crucial for egg development.
Monitoring and Maintenance
Regularly monitor temperature‚ humidity‚ and egg turning functions to ensure optimal conditions. Clean and disinfect the incubator to maintain hygiene and prevent bacterial growth.
5.1 Adjusting Humidity Levels
Monitor and adjust humidity levels regularly to ensure optimal incubation conditions. Fill the water channel as needed‚ typically when humidity drops below 50%. Avoid overfilling to prevent excess moisture. Use distilled water for best results. Check humidity levels daily and adjust based on egg development stages. Maintain humidity between 50-60% for ideal hatching conditions.
5.2 Checking Temperature Consistency
Ensure the incubator maintains a consistent temperature between 99°F and 100°F. Use the built-in digital display to monitor temperature. Calibrate sensors if necessary. Check temperature daily and adjust as needed. Avoid sudden fluctuations‚ as they can harm embryo development. Use an external thermometer for accuracy. Maintain stability for optimal incubation results and healthy hatching.
5.3 Cleaning and Disinfecting the Incubator
Regularly clean and disinfect the incubator to maintain hygiene. Unplug the device before cleaning. Use a soft cloth and mild detergent to wipe surfaces. Clean water channels thoroughly to prevent mold. Avoid harsh chemicals to protect the incubator’s components. Ensure all parts are dry before reuse to prevent bacterial growth and ensure optimal incubation conditions.
The Hatching Process
The hatching process begins as embryos break through the shell. Monitor for signs like pipping and zipping. Avoid assisting unless necessary. Ensure post-hatch care.
6.1 Signs of Hatching
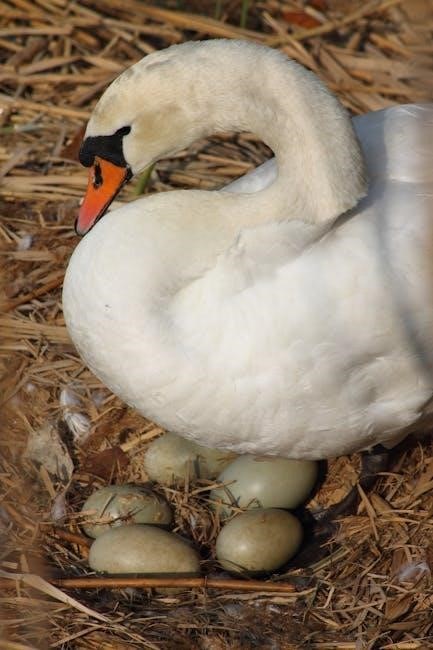
Signs of hatching include pipping (small cracks) and zipping (larger openings). Listen for peeping sounds and observe chicks moving inside the shell. Monitor closely but avoid interference unless necessary. Post-hatch‚ ensure chicks dry properly before moving them. Be patient‚ as hatching can take 24-48 hours. Proper care ensures healthy chicks.
6.2 Assisting with Difficult Hatches
If a chick struggles to hatch‚ gently mist the egg with water to soften the shell. Avoid excessive interference‚ as it may harm the chick. Monitor for signs like weak peeping or no progress after 24 hours. If necessary‚ carefully assist by creating small openings‚ ensuring not to cause injury. Patience is key‚ as most chicks hatch naturally without aid.
6.3 Post-Hatch Care for Chicks
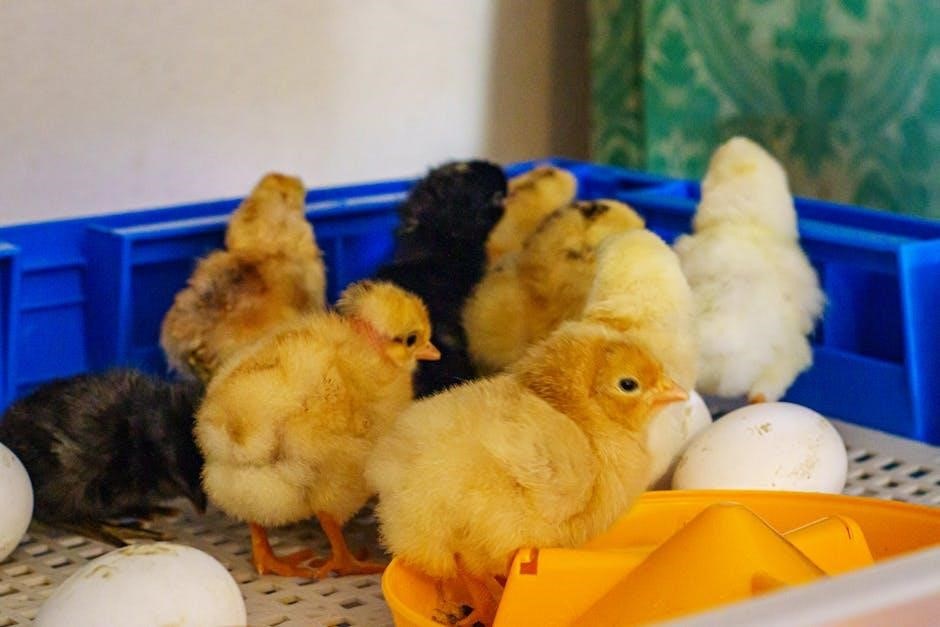
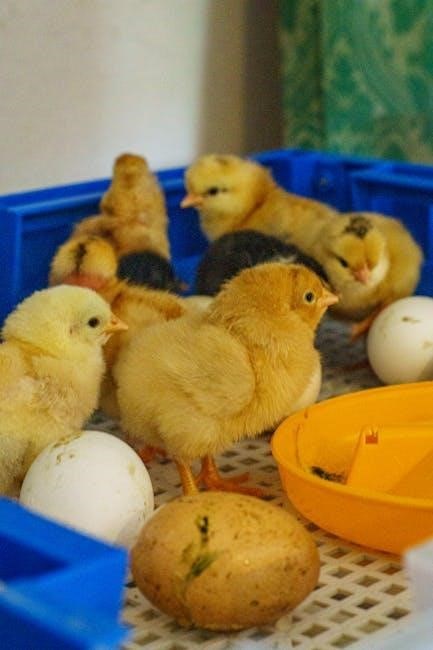
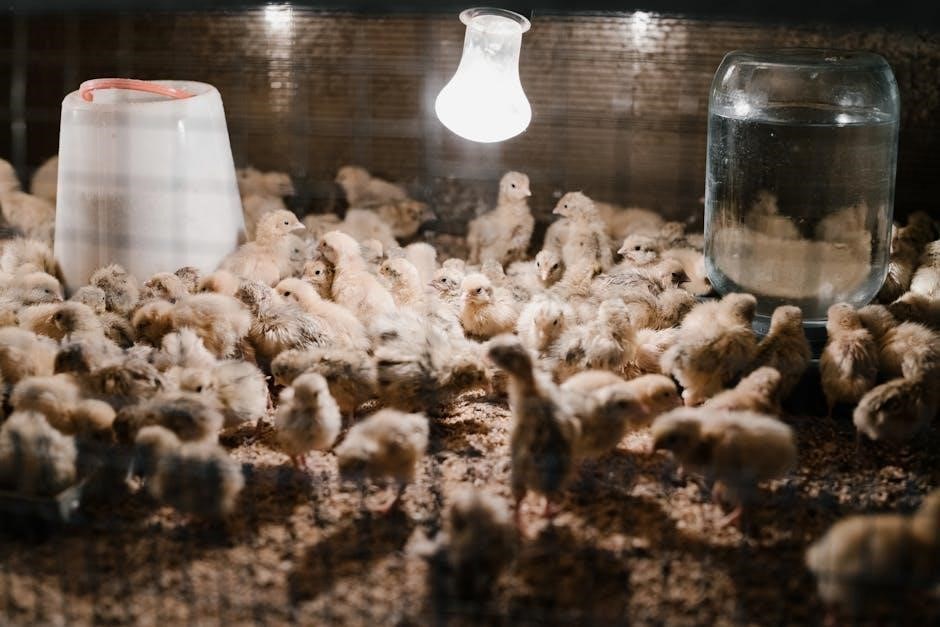
After hatching‚ move chicks to a safe‚ warm environment. Ensure they are dry and free from shell fragments. Provide food and water immediately‚ using a shallow dish to prevent accidents. Monitor health‚ checking for active movement and normal chirping. Clean the incubator thoroughly and dispose of unhatched eggs properly to maintain hygiene and prevent contamination.
Troubleshooting Common Issues
Identify and resolve issues promptly to ensure optimal incubation. Check temperature settings‚ water levels‚ and egg turner functionality. Clean the incubator regularly to maintain hygiene and prevent contamination.
7.1 Temperature Fluctuations
Monitor temperature closely‚ as fluctuations can affect hatching success. Ensure the incubator is placed in a stable environment‚ away from drafts. Check the sensor accuracy and power supply. If issues persist‚ recalibrate the temperature settings or consult the troubleshooting guide for further assistance. Maintaining consistent heat is crucial for optimal incubation.
7;2 Humidity Level Problems
Humidity fluctuations can impact egg development. If levels are too high‚ reduce water in the channels. If too low‚ increase water gradually. Use a hygrometer to monitor accuracy. Ensure proper ventilation to maintain stable conditions. Regularly check water channels for blockages or leaks. Adjustments should be made cautiously to avoid sudden changes during incubation.
7.3 Malfunctioning Egg Turner
If the egg Turner isn’t functioning‚ check the power connection and ensure all parts are assembled correctly. Clean any debris or blockages that might hinder movement. Ensure eggs are placed properly without obstructing the Turner. If issues persist‚ refer to the troubleshooting section or contact customer support for further assistance and potential solutions;
- Verify the Turner’s power connection is secure and functional.
- Inspect for and remove any blockages or misalignments.
- After adjustments‚ test the Turner to ensure smooth and proper rotation.
Best Practices for Optimal Results
To achieve optimal hatching results‚ ensure proper temperature‚ humidity‚ and egg turning. Regularly monitor and maintain the incubator according to the guidelines for best performance.
- Always test the incubator before adding eggs to ensure it’s functioning correctly.
- Place eggs in the incubator with the narrow end facing down for better stability.
- Monitor humidity levels and add water as needed to maintain optimal conditions.
8.1 Selecting Healthy Eggs for Incubation
Selecting healthy eggs is crucial for successful incubation. Choose eggs with clean‚ intact shells‚ avoiding cracks or damage. Ensure uniform size and shape‚ as irregular eggs may not hatch well. Avoid excessively dirty or abnormal eggs‚ as they can reduce hatching rates. Always prioritize fresh‚ high-quality eggs for the best results.
8.2 Maintaining Proper Ventilation
Proper ventilation ensures healthy incubation by removing excess moisture and CO2. Open vents slightly to allow airflow without cooling the incubator. Regularly check and adjust ventilation to maintain optimal conditions. Ensure the incubator is placed in a well-ventilated area to prevent stale air buildup‚ promoting healthy chick development and successful hatching rates.
8.3 Avoiding Common Mistakes
Avoid overfilling water channels‚ as excessive humidity can harm embryo development. Never open the incubator during the first 18 days‚ except for necessary adjustments. Ensure eggs are placed with the narrow end down to prevent yolk movement. Avoid sudden temperature changes and never test the incubator during the critical hatching phase to maintain stable conditions for successful hatching.
Technical Specifications
The incubator operates on 12V DC‚ 2A power‚ with a capacity of 12-96 eggs. Dimensions are 12x12x18 inches‚ and it includes a one-year warranty for parts and labor.
9.1 Power Requirements
The incubator requires a 12V DC‚ 2A power supply. Ensure a stable power source to maintain consistent temperature and humidity. Use the provided adapter to avoid damage. Check local plug standards for compatibility. Avoid voltage fluctuations to prevent malfunctions. Proper power connection is crucial for optimal performance and safety. Always use the recommended specifications for reliable operation.
9.2 Capacity and Dimensions
The incubator has a capacity of 12 eggs‚ designed for small to medium-scale hatching. Dimensions are 18x12x8 inches‚ ensuring compact storage. It weighs 8 pounds‚ making it portable. The interior space is optimized for egg placement‚ while the exterior is built for durability and easy handling. These measurements ensure efficient use of space without compromising performance.
9.3 Warranty and Support Information
The incubator is covered by a one-year limited warranty‚ protecting against manufacturing defects. For support‚ contact our team via phone at 1-800-INCUBATE or email at support@eggincubator.com. Visit our website for detailed warranty terms and troubleshooting guides. Please retain your purchase receipt for warranty validation.
Manufacturer Guidelines
Compliance with international safety standards is assured. Use only original parts and follow instructions for optimal performance. Contact support for any inquiries or warranty claims. Environmental sustainability is prioritized in design and materials.
10.1 Compliance with Safety Standards
The incubator adheres to strict international safety standards‚ ensuring safe operation and durability. It meets CE and RoHS certifications‚ guaranteeing protection against electrical hazards. Regular testing confirms compliance with global safety regulations‚ providing users with a reliable and secure hatching experience. Always use the provided power adapter to maintain safety and warranty validity.
10.2 Warranty Conditions
The incubator is covered by a limited warranty for 12 months from purchase. It covers repairs or replacements of defective parts due to manufacturing issues. Warranty voids if misused‚ tampered with‚ or modified. Proper usage as per manual guidelines is essential to maintain warranty validity and ensure optimal performance.
10.3 Contact Information for Support
For any inquiries or assistance‚ contact our support team at support@eggincubator.com or call +1 (800) 123-4567. Visit our website www.eggincubator.com/support for troubleshooting guides‚ FAQs‚ or to submit a ticket. Office hours are Monday-Friday‚ 9 AM to 5 PM EST. We are here to help ensure your incubation experience is smooth and successful.
11.1 Summary of Key Points
This manual guides users through incubator setup‚ operation‚ and maintenance. It emphasizes proper temperature‚ humidity‚ and egg placement for optimal hatching. Regular monitoring and adjustments ensure healthy incubation. Follow safety precautions and best practices to avoid common mistakes. Proper care and attention will lead to successful hatching. Always refer to this guide for troubleshooting and technical support.
11.2 Final Tips for Successful Incubation
Monitor temperature and humidity consistently‚ handle eggs gently‚ and avoid unnecessary incubator opening. Ensure proper ventilation and maintain cleanliness. Follow the manual’s guidelines for optimal results. Keep the incubator away from direct sunlight and drafts. Regularly check the egg-turning function and water levels. Patience and attention to detail will maximize hatching success and healthy chick development.