
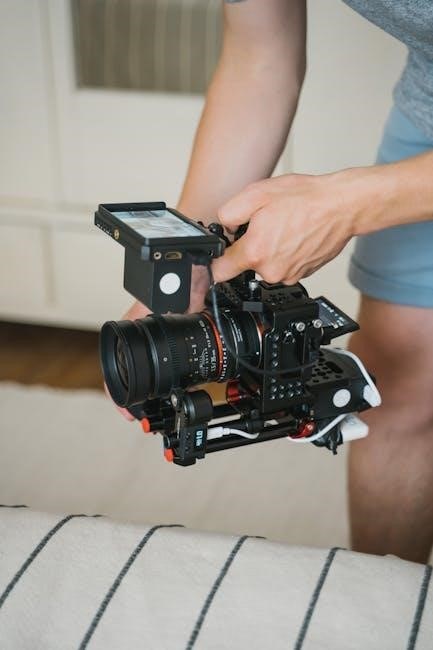
Mastering manual lens adjustments enhances control over focus and aperture, enabling precise image capture. Understanding key components like focus and aperture rings is essential for optimal results.
1.1 Understanding the Basics of Camera Lens Adjustment
Manual lens adjustment involves controlling focus, aperture, and zoom settings to achieve desired image quality. The focus ring adjusts the lens elements to sharpen the subject, while the aperture ring regulates light entry. Understanding how these components interact is crucial for precise control. Proper adjustment ensures sharp focus and optimal light exposure, enhancing overall image clarity. Familiarity with these basics allows photographers to customize settings for creative results in various lighting conditions and compositions.
1.2 Importance of Manual Focus in Photography
Manual focus offers precise control over image sharpness, allowing photographers to achieve exact focusing points. Unlike autofocus, manual focus ensures creativity and accuracy, especially in challenging lighting or complex compositions. It is essential for capturing fine details and ensuring subjects stand out. By manually adjusting the focus ring, photographers can override autofocus limitations, delivering professional results. This technique is particularly valuable in genres like portrait, macro, and landscape photography, where exact focus placement is critical for artistic expression and technical perfection.

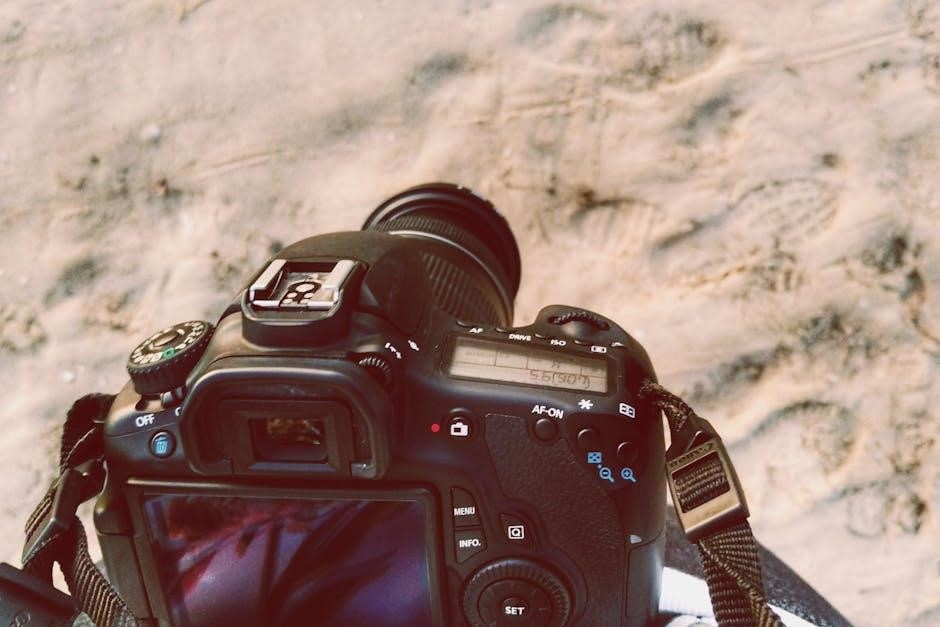
Key Components of a Camera Lens

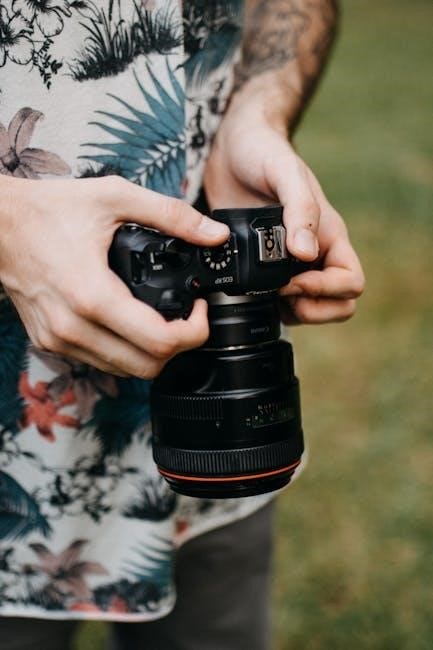
A camera lens features essential parts like the focus ring, zoom ring, aperture ring, and lens mount. These components enable precise adjustments for focus, focal length, and light exposure, ensuring proper connection to the camera for optimal image capture.
2.1 Focus Ring: Its Role in Manual Adjustment

The focus ring is a wide, textured ring on the lens used to manually adjust focus. By rotating it, photographers can move lens elements to achieve sharp images. It allows precise control over the in-focus area, enabling creativity and accuracy. The ring’s design varies, with some offering smooth turns for cinema use. Proper technique ensures quick and accurate focusing, making it an essential tool for photographers prioritizing manual control over autofocus for specific shots or artistic purposes.
2.2 Zoom Ring: Adjusting Focal Length
The zoom ring allows photographers to adjust the lens’s focal length manually, altering the angle of view. By rotating it, lens elements move, extending or retracting to change the focal length. This feature enables framing flexibility without moving the camera. The zoom ring typically operates smoothly, ensuring precise control. It is especially useful in dynamic situations, such as capturing action or adjusting composition without refocusing. Proper use of the zoom ring enhances creativity and efficiency in photography, making it a vital component for both professionals and enthusiasts.
2.3 Aperture Ring: Controlling Light Exposure
The aperture ring regulates the lens’s aperture, determining the amount of light entering the camera. By adjusting this ring, photographers control the f-stop value, which affects depth of field and exposure. A lower f-stop opens the aperture wider, allowing more light and creating a shallower focus, while a higher f-stop narrows the aperture, increasing depth of field. Proper use of the aperture ring is crucial for achieving desired artistic effects, such as isolating subjects or ensuring sharpness throughout the image. This manual control enhances creative flexibility in various lighting conditions and compositional needs.
2.4 Lens Mount: Connecting the Lens to the Camera
The lens mount is the critical interface connecting the lens to the camera body, ensuring proper alignment and communication. Different manufacturers use specific mounts, such as Canon’s EF or Nikon’s F-Mount, which are not universally compatible. The mount’s design varies, with some featuring electronic contacts for autofocus and aperture control. Proper mounting is essential for optimal performance, as it ensures accurate focus and exposure. Regularly cleaning the mount prevents dust and debris from affecting the connection. Understanding your lens mount’s type and compatibility is vital for seamless photography across different camera systems.
Calibrating Your Camera Lens for Sharp Images
Ensure sharp images by calibrating your lens using a tripod, calibration chart, and single focus point mode; Position the chart vertically and adjust focus precisely for accuracy.
3.1 Setting Up Your Camera and Lens
To ensure accurate calibration, position your camera on a tripod and set it to manual focus mode. Use a remote shutter release or timer to avoid camera shake. Place a calibration chart 1.25 to 2.5 meters away, ensuring it is perfectly vertical and aligned with your lens. Switch to live view mode for precise focus adjustment. Proper setup is crucial for achieving sharp images and ensuring your lens performs optimally. Make sure the chart is evenly lit to avoid interference with focus accuracy. This step is foundational for effective lens calibration and sharp image capture.
3.2 Using a Calibration Chart for Accuracy
A calibration chart is essential for ensuring precise lens adjustments. Start by printing a high-contrast chart and positioning it at a distance of 1.25 to 2.5 meters from your camera. Ensure the chart is perfectly vertical and aligned with your lens. Use live view mode to zoom in on the chart’s details for accurate focus assessment. Properly illuminate the chart to avoid shading or reflections. By following these steps, you can achieve sharp focus and optimal lens performance. This method ensures your manual adjustments yield precise results, enhancing overall image clarity and quality. Regular calibration maintains lens accuracy over time.
3.3 Fine-Tuning the Focus for Optimal Results
Once calibrated, fine-tuning focus ensures razor-sharp images. Use live view mode on a tripod to stabilize the camera. Zoom in on the calibration chart or subject details to assess focus accuracy. Rotate the focus ring slowly, observing changes in sharpness. Check the entire frame, especially edges, to avoid misalignment. Repeat adjustments iteratively, refining focus precision. This process guarantees optimal results, even for critical applications. Regular fine-tuning maintains lens performance and delivers consistent image quality. Patience is key, as precise focus enhances overall photography outcomes significantly.
Tips for Using Manual Mode Effectively
Master manual focus by prioritizing your subject’s eyes. Adjust aperture and ISO settings to balance exposure, ensuring optimal light capture. Use depth of field preview for precise control over focus effects, enhancing your creative vision in every shot.
4.1 Mastering Manual Focus for Precision
Manual focus allows photographers to achieve pinpoint accuracy by directly adjusting the lens. Start by using a tripod to stabilize the camera, ensuring sharp images. Use the focus ring to finely tune the subject’s clarity. For landscapes, focus on the hyperfocal distance. In portraits, prioritize your subject’s eyes. Utilize the camera’s focus peaking or magnification tools for precision. Practice techniques like zone focusing for dynamic compositions. Regularly calibrate your lens to ensure accuracy. Fine-tune adjustments slowly, as subtle movements can significantly impact focus. With practice, manual focus becomes second nature, enabling unparalleled creative control over your photography.
4.2 Adjusting Aperture and ISO Settings
Aperture and ISO settings are crucial for controlling light exposure. Aperture, adjusted via the aperture ring, regulates the lens opening, affecting depth of field. A lower f-stop (e.g., f/2.8) allows more light and a shallower focus, while a higher f-stop (e.g., f/16) yields sharper backgrounds. ISO sensitivity, typically set in the camera, complements aperture by adjusting sensor light response. Lower ISOs (e.g., ISO 100) minimize noise, ideal for bright conditions, while higher ISOs (e.g., ISO 6400) are used in low light. Balancing these settings ensures optimal exposure, enhancing image quality and artistic intent. Experiment to find the perfect harmony for your shots.
Troubleshooting Common Issues
Identify and resolve lens issues like front or back focus problems and maintain accuracy over time for sharp images and optimal performance in your photography.
5.1 Addressing Front or Back Focus Problems
Front or back focus issues occur when the lens fails to focus accurately on the subject. To diagnose, use a calibration chart placed at the correct distance. Set your camera to manual focus and single-point AF mode. Compare the chart’s focus with your camera’s display. If the focus is off, adjust the lens’s micro-adjustment settings. Fine-tune the focus ring or consult your camera’s manual for calibration steps. Repeat the process to ensure accuracy. Regularly checking and adjusting focus ensures sharp images and optimal lens performance over time.
5.2 Maintaining Lens Accuracy Over Time
Regular maintenance ensures your lens retains precision. Clean the glass and rings to prevent dirt from affecting focus. Store the lens in a dry, cool place to avoid moisture damage. Periodically check for front or back focus issues using calibration charts. Adjust micro-settings as needed to maintain sharpness. Lubricate moving parts if they become stiff, but avoid over-lubrication. Schedule professional servicing every few years to realign internal components. Consistent care extends the life of your lens and guarantees consistent image quality in various shooting conditions. Proactive maintenance is key to preserving your equipment’s performance and reliability over time.