Beats Solo 3 Instructions: A Comprehensive Guide
Welcome! This guide provides detailed instructions for your Beats Solo 3 Wireless headphones, covering pairing, controls, charging, and troubleshooting, as of today’s date.
Utilize Bluetooth for wireless connectivity, the ‘b’ button for controls, and the RemoteTalk cable for wired listening experiences, ensuring optimal performance.
Beats Solo 3 delivers premium sound quality and a comfortable listening experience, blending style with advanced technology. These on-ear wireless headphones are designed for those who demand both performance and convenience in their daily audio enjoyment.
Featuring Apple’s W1 chip, the Solo 3 offers seamless pairing with Apple devices and improved Bluetooth connectivity. The integrated controls and long battery life – up to 40 hours – ensure uninterrupted listening. Whether you’re commuting, working out, or simply relaxing, these headphones adapt to your lifestyle.
This guide will walk you through every aspect of using your Beats Solo 3, from initial setup and pairing to understanding the controls and troubleshooting common issues. Explore the versatility of wireless freedom and wired listening options with the included RemoteTalk cable.
What’s in the Box?
Upon opening your new Beats Solo 3 package, you’ll find several components designed to enhance your listening experience. The core item, of course, is the Beats Solo 3 Wireless On-Ear Headphones themselves, carefully packaged for protection.
Alongside the headphones, you’ll receive a RemoteTalk cable, enabling wired listening and providing in-line controls for compatible devices. A USB Charge Cable is included for powering up your headphones, ensuring you’re always ready to enjoy your music.
Additionally, a carrying case is provided to protect your investment during travel or storage. Finally, you’ll find a Quick Start Guide offering basic instructions to get you started quickly, and documentation regarding warranty information.
Headphones Overview
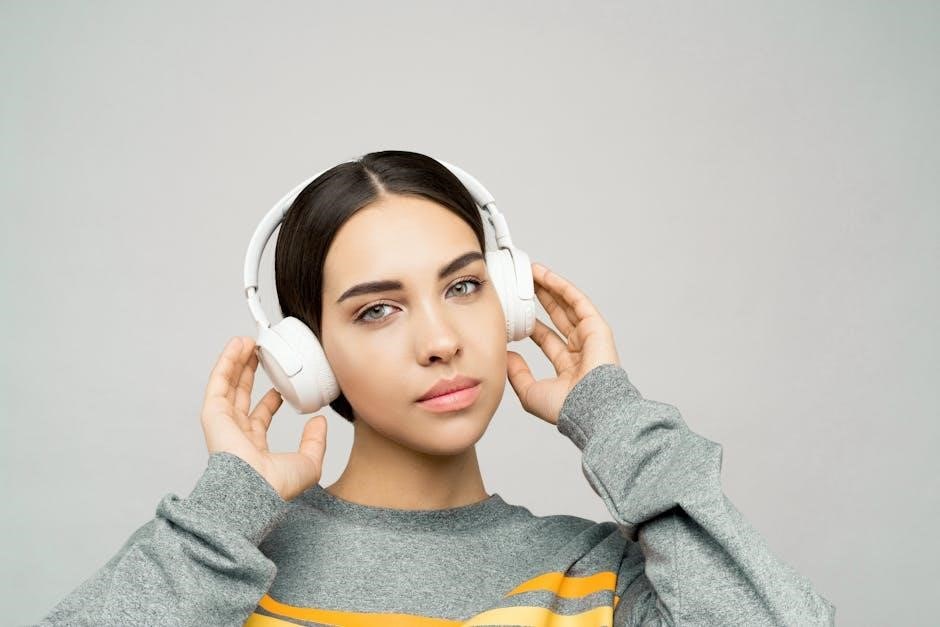
The Beats Solo 3 headphones feature a sleek, on-ear design crafted for both comfort and style. The earcups are cushioned and adjustable, ensuring a secure and personalized fit for extended listening sessions. Constructed with premium materials, they offer durability alongside a refined aesthetic.
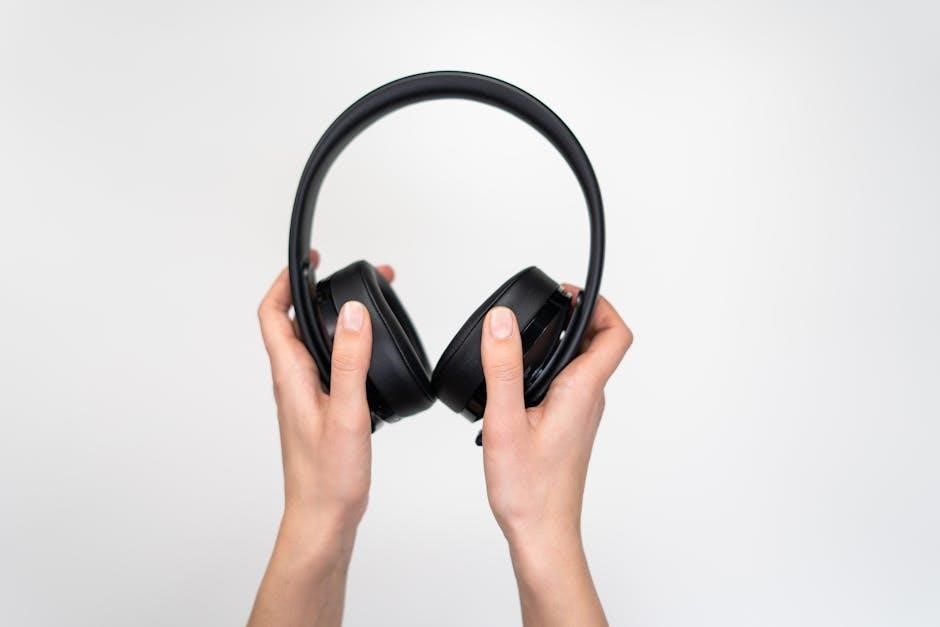
Located on the left earcup is the iconic ‘b’ button, serving as the central control for power, pairing, and managing calls. The right earcup houses the volume controls, allowing for easy adjustment of audio levels. A 3.5mm headphone jack is situated on the left earcup for wired connectivity.
The headband is adjustable and foldable, making the headphones portable and convenient for travel. The overall design prioritizes a balance between premium sound quality and user-friendly functionality.
Included Accessories
Upon unboxing your Beats Solo 3 Wireless headphones, you’ll find several essential accessories designed to enhance your listening experience. A premium carrying case is included, providing protection during transport and storage, safeguarding against scratches and damage.
A RemoteTalk cable is also provided, enabling wired listening when Bluetooth connectivity isn’t desired or when the battery is depleted. This cable features built-in controls for music playback and answering calls.
A USB charging cable is included for powering up your headphones. While the specific connector type wasn’t explicitly stated, it’s crucial for maintaining optimal battery life. Finally, you’ll receive a quick start guide offering basic instructions for setup and operation.
Powering On and Off
Beats Solo 3 headphones offer a straightforward power operation. To activate your headphones, simply press and hold the power button – conveniently located on the left earcup – until the LED indicator illuminates. This indicates the headphones are powering on and ready for pairing or use.
To deactivate, repeat the process: press and hold the power button until the LED indicator turns off. This ensures battery conservation when the headphones are not in use. A brief press of the power button during operation displays the battery level via the LED indicator.
Remember, a fully powered-off state is crucial for preventing accidental Bluetooth connections and preserving battery life during storage or travel.
Initial Power-Up
Upon first use, your Beats Solo 3 headphones require a brief initial power-up sequence to prepare for pairing. Connect the headphones to a power source using the provided micro-USB cable. Allow them to charge for at least 30 minutes, even if fully charged, to ensure optimal performance.
Once connected, press and hold the power button located on the left earcup. The LED indicator will pulse while charging and become solid when fully powered. This initial charge primes the internal systems for seamless Bluetooth connectivity.
After the initial charge, the headphones are ready to pair with your devices. The headphones will automatically enter pairing mode upon the first power-on if no previous connections exist.
Powering On/Off Procedure
To power on your Beats Solo 3 headphones, press and hold the power button – located on the left earcup – for approximately one second. A white LED indicator light will illuminate, confirming the headphones are active and ready to pair or connect to a previously paired device.
To power off, press and hold the same power button for approximately three seconds. The LED indicator will flash white before turning off, signifying that the headphones are now in a powered-down state. This conserves battery life when not in use.
Ensure the headphones are fully charged for optimal performance. Remember, the ‘b’ button is for controls, not power functions. Proper powering on/off extends battery longevity.
Pairing with Devices via Bluetooth
Establishing a Bluetooth connection with your Beats Solo 3 is straightforward. First, ensure your headphones are powered on. Then, activate Bluetooth on your desired device – smartphone, tablet, or computer. Place your headphones in pairing mode by holding the power button until the LED flashes white.
On your device, scan for available Bluetooth devices. “Beats Solo 3 Wireless” should appear in the list. Select it to initiate pairing. You may be prompted for a passcode; if so, enter “0000” (four zeros). Once connected, a solid white LED indicates a successful pairing.
Remember to consult your device’s manual for specific Bluetooth instructions. The ‘b’ button doesn’t handle pairing; it’s for controls post-connection.
Bluetooth Pairing ⸺ First Time
For your initial pairing experience with Beats Solo 3, begin by ensuring the headphones are fully charged and powered off. Press and hold the power button located on the left earcup until the LED indicator begins flashing white. This signifies the headphones are now discoverable.
Navigate to the Bluetooth settings on your smartphone, tablet, or computer. Activate Bluetooth if it isn’t already enabled. Your device will begin searching for available wireless devices. Locate “Beats Solo 3 Wireless” within the list of discovered devices and select it.
A pairing request may appear; confirm it. A solid white LED on the headphones confirms a successful first-time pairing. Remember, this process only needs to be completed once!
Re-Pairing with Existing Devices
If your Beats Solo 3 previously paired with a device is no longer connected, re-pairing is straightforward. First, ensure the headphones are powered on. If they automatically connect to another device, turn off Bluetooth on that device temporarily.
On the device you wish to reconnect to, navigate to the Bluetooth settings. Locate “Beats Solo 3 Wireless” in the list of paired devices. If it’s not visible, you may need to initiate a new search. Select the headphones from the list.
The headphones will attempt to reconnect automatically. A solid white LED indicates a successful reconnection. If prompted, confirm the pairing request. This process quickly restores your wireless audio experience!
Using the Controls
Beats Solo 3 offers intuitive controls for managing your listening experience. The central ‘b’ button serves as the multi-function control. A single press pauses and plays music, answers and ends calls. Double-pressing skips to the next track, while triple-pressing returns to the previous one.
Volume control is managed via the volume up (+) and volume down (-) buttons located on the left earcup. Pressing these adjusts the audio level accordingly. Long-pressing either button will skip tracks, offering an alternative control method.
These controls provide seamless operation without needing to access your paired device. Mastering these simple actions unlocks the full potential of your Beats Solo 3 headphones.
The ‘b’ Button Functionality
The iconic ‘b’ button on your Beats Solo 3 is the central hub for controlling your audio and calls. A single press initiates pause/play of your music or answers/ends phone calls. Holding the button activates Siri or your device’s voice assistant, allowing for hands-free control.
Double-clicking the ‘b’ button advances to the next track in your playlist, while triple-clicking rewinds to the previous track. This provides quick and easy navigation without needing to reach for your connected device;
The ‘b’ button’s versatility streamlines your listening experience, offering a convenient and efficient way to manage your audio and calls wirelessly.
Volume Control
Adjusting the volume on your Beats Solo 3 is intuitive and easily accessible. Located on the left earcup, you’ll find dedicated volume controls. The upper button increases the volume, while the lower button decreases it.
Simple, single presses of these buttons incrementally adjust the audio level. Holding down either button will continuously increase or decrease the volume, allowing for quick adjustments to your preferred listening level.
These physical controls offer precise volume management, independent of your connected device’s volume settings. Enjoy a tailored audio experience with responsive and convenient volume adjustments at your fingertips.
Wired Listening with RemoteTalk Cable
For a wired connection, utilize the included RemoteTalk cable. This allows you to enjoy your Beats Solo 3 even when Bluetooth isn’t available or when you prefer a direct audio connection. Simply plug one end of the RemoteTalk cable into the headphone’s audio jack, typically located on the left earcup.
Connect the other end to your audio source – a smartphone, tablet, or computer. The RemoteTalk cable also enables wired control functionality. You can manage music playback and answer calls directly from the cable’s integrated controls.
This provides a convenient alternative listening experience, bypassing Bluetooth while maintaining essential control features. Enjoy high-quality audio and seamless control with the RemoteTalk cable.
Connecting the RemoteTalk Cable
Establishing a wired connection with your Beats Solo 3 is straightforward. Locate the 3.5mm audio jack on the left earcup of your headphones. Carefully insert one end of the RemoteTalk cable into this port until you feel a secure connection. Ensure it’s fully inserted for optimal audio transmission.
Next, connect the other end of the RemoteTalk cable – the standard 3.5mm plug – into the corresponding audio output port on your device. This could be your smartphone, laptop, tablet, or any other audio source with a headphone jack.
Once connected, your device should automatically recognize the headphones. You can now enjoy audio playback through the wired connection, bypassing Bluetooth functionality.
RemoteTalk Cable Controls
The RemoteTalk cable offers convenient control over your audio experience even when using a wired connection. Integrated into the cable is a three-button remote with built-in microphone functionality. A single press of the center button typically functions as play/pause, or answer/end calls;
The volume up (+) and volume down (-) buttons allow you to adjust the audio level directly from the cable. Short presses will incrementally increase or decrease the volume; The microphone enables hands-free calling and voice assistant activation on compatible devices.
Functionality may vary slightly depending on your device’s operating system. Experiment with the buttons to familiarize yourself with their specific controls on your preferred device.

Charging Your Beats Solo 3
Maintaining battery life is crucial for uninterrupted listening. Your Beats Solo 3 headphones are rechargeable via a micro-USB cable. Locate the charging port, typically found on the right earcup. Connect the micro-USB cable securely to the port and a powered USB source, like a computer or wall adapter.
During charging, an indicator light will illuminate, providing visual feedback on the charging progress. A full charge typically takes around 2.5 hours, providing up to 40 hours of playback. It’s recommended to fully charge the headphones before initial use.
Avoid using damaged USB cables or power adapters, as they may affect charging efficiency and potentially damage the headphones.
Charging Port Location
Identifying the charging port on your Beats Solo 3 is simple. The port is conveniently located on the right earcup of the headphones. Look for a small, rectangular opening near the bottom edge of the earcup – this is where you’ll connect the micro-USB charging cable.
The port’s placement allows for easy access while wearing or storing your headphones. Ensure the area around the port is clean and free of debris before connecting the cable to guarantee a secure connection. A firm, but gentle, insertion is recommended.
Visually inspecting the right earcup will quickly reveal the charging port’s location, enabling you to efficiently recharge your device.
Charging Indicators & Times
Understanding the charging indicators is crucial for monitoring your Beats Solo 3’s power status. While charging, a red LED light illuminates on the right earcup, signifying that the battery is actively being replenished. Once fully charged, the light will transition to green.
A full charge typically takes approximately 2.5 hours, providing up to 22 hours of playback with Active Noise Cancelling (ANC) off, or 12 hours with ANC enabled. A quick 5-minute charge can offer around 3 hours of playback, ideal for when you’re short on time.
The LED indicator provides a clear visual cue, ensuring you’re always aware of your headphone’s charging progress and battery level.
Troubleshooting Common Issues
Experiencing issues? Let’s address some common problems with your Beats Solo 3. If your headphones have no power, ensure they are adequately charged using a compatible micro-USB cable and power adapter. Try a different cable and adapter to rule out a faulty connection;
Bluetooth pairing problems can often be resolved by forgetting the device on your source and re-initiating the pairing process. Confirm Bluetooth is enabled on both your headphones and the connecting device. Restarting both devices can also help establish a stable connection.
For persistent issues, consult the official Beats support website for further assistance and detailed troubleshooting guides.

No Power
Headphones won’t turn on? First, verify the headphones have been charged sufficiently. Connect the provided micro-USB cable to a functioning USB port and allow ample charging time – a full charge can take several hours. Ensure the cable is securely connected to both the headphones and the power source.
If charging doesn’t resolve the issue, try a different USB cable and wall adapter. A faulty cable or adapter can prevent proper charging. If still unresponsive, perform a reset by holding the power button for 10 seconds.
If problems persist, contact Beats Support for further assistance, as internal battery issues may require professional attention.
Bluetooth Pairing Problems
Experiencing difficulty pairing? Ensure Bluetooth is enabled on your device and that the headphones are in pairing mode – typically activated by holding the power button until the LED flashes. Confirm the headphones aren’t already connected to another device; Bluetooth can only maintain one active connection at a time.
If pairing fails, try “forgetting” or removing the Beats Solo 3 from your device’s Bluetooth settings and then re-initiating the pairing process; Interference from other wireless devices can sometimes disrupt pairing; move away from potential sources of interference.
Restarting both your headphones and your device can often resolve connectivity issues. If problems continue, consult the Beats Support website for specific troubleshooting steps.